
If you’ve ever tossed a bunch of celery into the compost bin after chopping off the base, you’ve been throwing away a gardening opportunity! The humble celery stump you usually discard can actually regrow into a fresh, full stalk of celery—right from your kitchen counter.
This simple, satisfying project is perfect for anyone looking to reduce waste and grow fresh produce indoors. With just a few household items, you can turn your kitchen scraps into thriving green life within days.
Let’s walk through how to grow celery from scraps, step-by-step, and keep it thriving long-term.
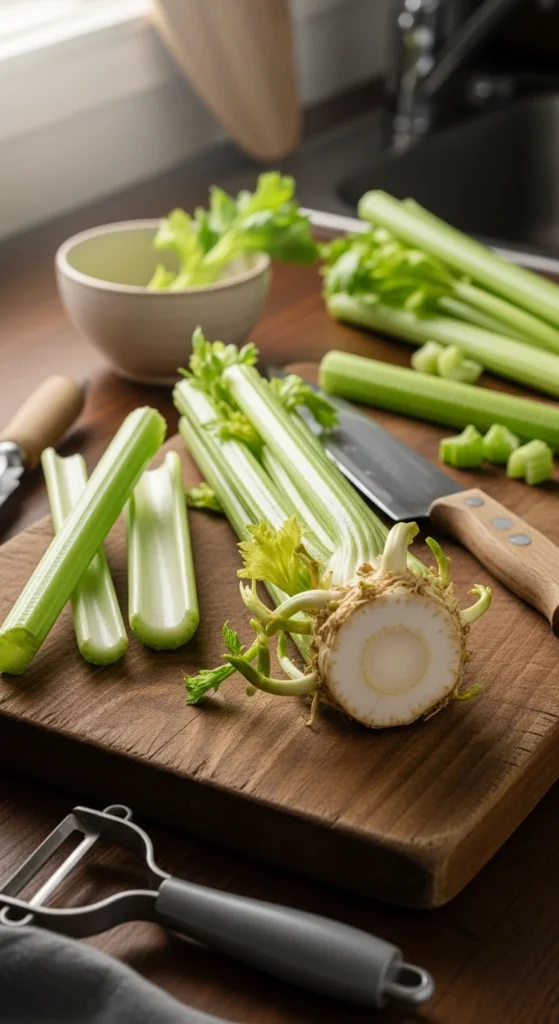
Step 1: Save the Celery Base
Next time you’re cooking with celery, don’t throw out the bottom!
Cut the stalks about 2 inches above the root base. You’ll be left with a sturdy stump that contains all the growth nodes needed for regrowth.
Pro Tip: Choose healthy, crisp celery with a firm base—avoid wilted or moldy stalks.
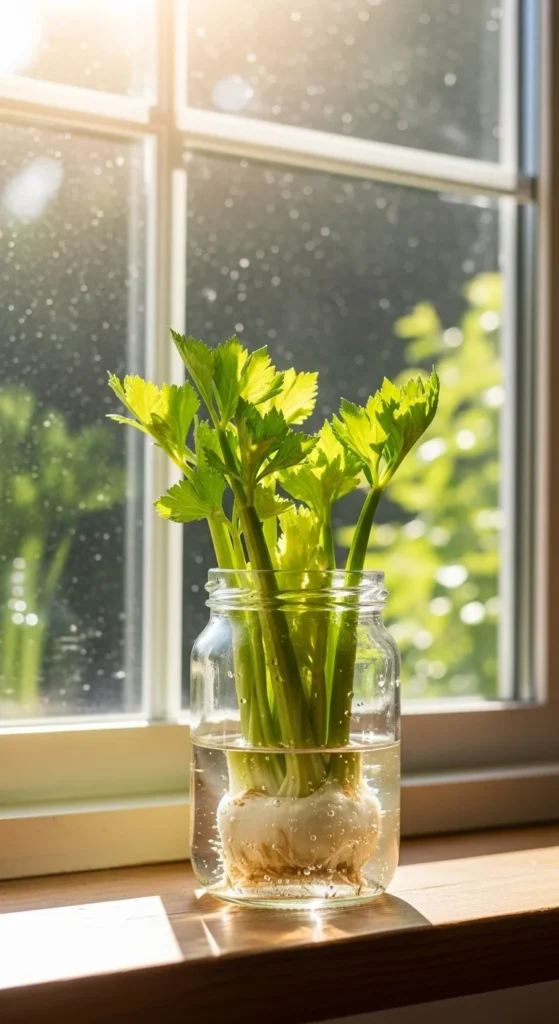
Step 2: Start It in Water
Place your celery base in a shallow bowl or glass jar with about 1 inch of water at the bottom. The goal is to submerge only the root end while keeping the top above water.
Put the container on a sunny windowsill—celery loves warmth and indirect sunlight.
Care tips for the water stage:
- Change the water every 2 days to prevent rot.
- Make sure the root end stays moist but not fully submerged.
- Within 4–6 days, you’ll notice small yellow-green shoots sprouting from the center.
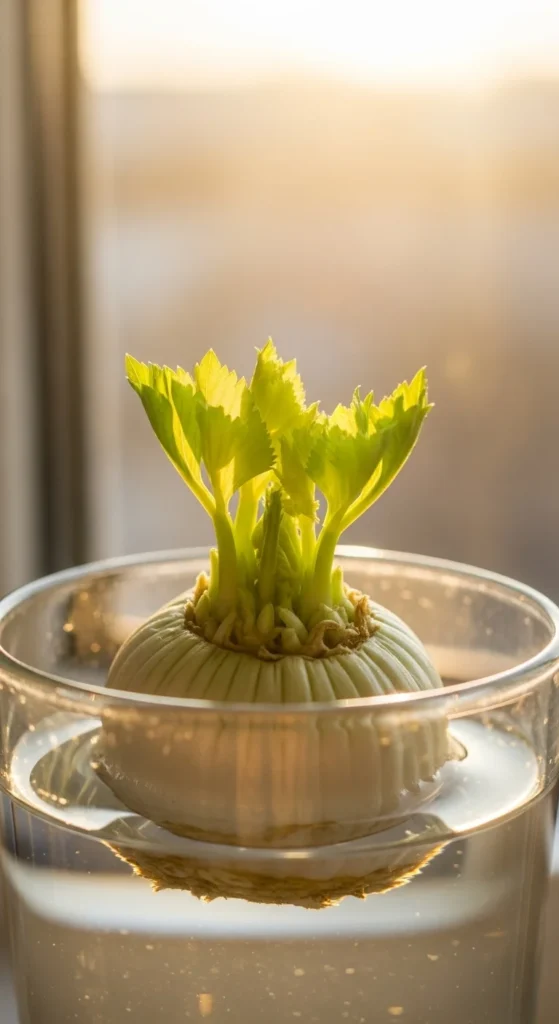
Once you see roots growing from the bottom, your celery is ready for soil!
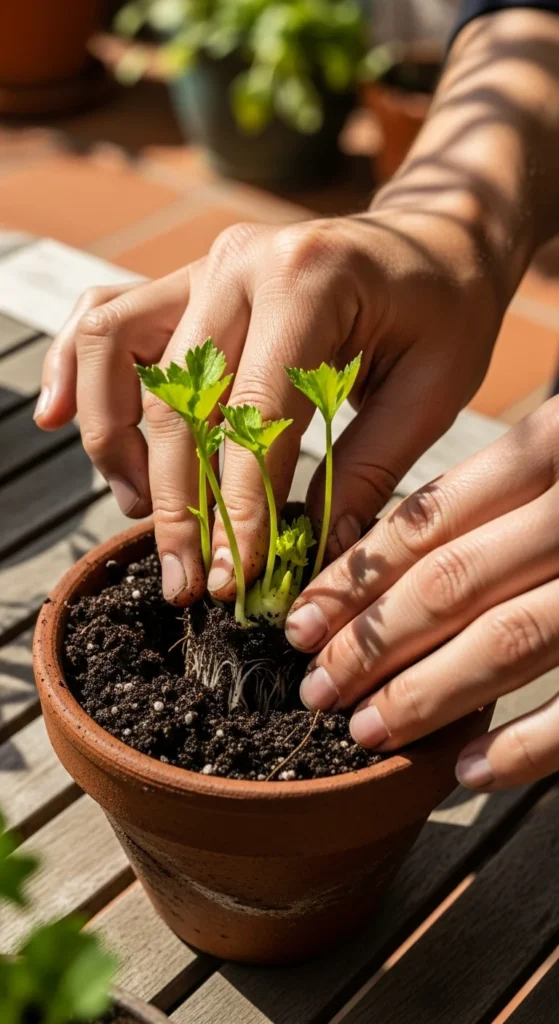
Step 3: Transplant into Soil
After about a week, your celery base will have both new roots and leafy shoots—time to move it into soil.
How to transplant:
- Choose a small pot (6–8 inches deep) or a garden bed with rich, well-draining soil.
- Plant the base so that only the new shoots are above the soil line.
- Water thoroughly to settle the soil around the roots.
Celery likes consistent moisture, so keep the soil evenly damp—not soaked, not dry.
If growing indoors, place your pot near a bright window or under a grow light for at least 6 hours of light daily.
Step 4: Keep It Growing Strong
Celery is a slow but steady grower—it will take a few months to reach harvest size.
Here’s how to care for your regrown plant:
- Water often: Celery thrives in consistently moist conditions.
- Feed monthly: Use a mild, balanced fertilizer or compost tea to encourage lush growth.
- Keep cool: Ideal temperatures are 60–70°F (15–21°C).
- Trim wisely: Remove outer leaves that turn yellow or droop to keep the center healthy.
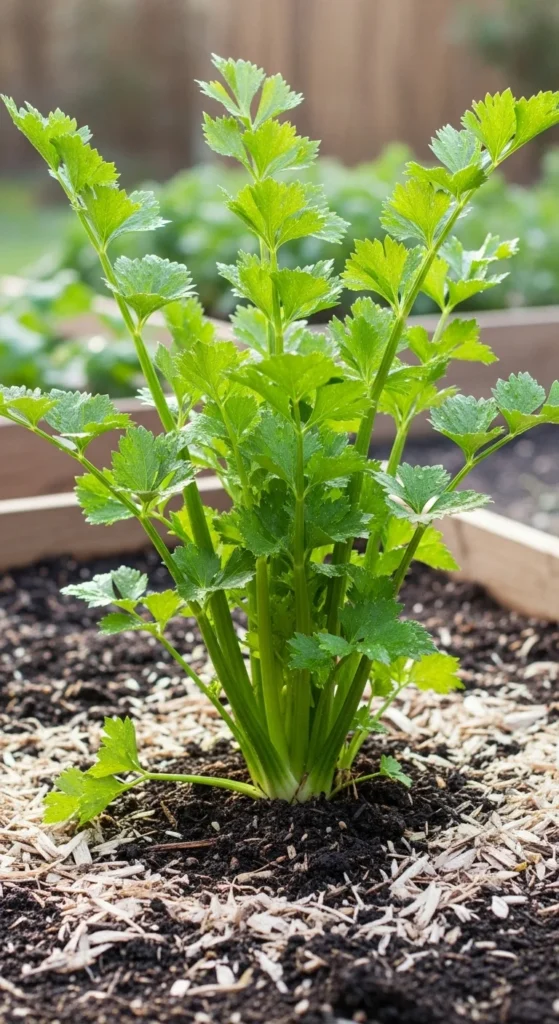
If growing outdoors, add a layer of mulch around the base to lock in moisture and prevent weeds.
Step 5: Harvest and Regrow Again
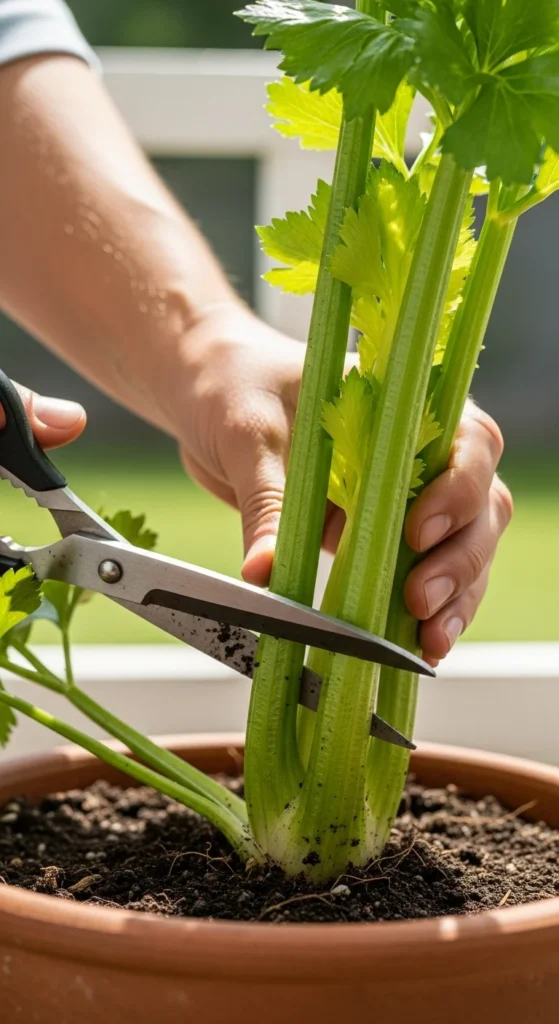
When your celery stalks reach about 8–10 inches tall, they’re ready to harvest!
To harvest:
- Cut outer stalks close to the base, leaving the inner shoots to keep growing.
- For a full harvest, cut the entire plant just above the roots.
You can even restart the process again by saving the new base from your harvested celery—just like before.
Pro Tip: Homegrown celery may taste stronger than store-bought, with a slightly richer, earthier flavor. Soak cut stalks in cool water for an hour before eating to mellow the taste.
Bonus: Creative Ways to Use Regrown Celery
Besides being an eco-friendly project, regrown celery gives you the freshest flavor possible for:
- Soups and stews – Adds a vibrant crunch and depth.
- Smoothies or juices – For a fresh, crisp kick.
- Garnishes – Use the tender leaves for salads or homemade broth.
Plus, it’s a fun project for kids or beginners to learn about plant life cycles and sustainable living.
Final Thoughts
Regrowing celery from kitchen scraps is one of the easiest ways to start your indoor gardening journey—no fancy equipment, no big garden, just curiosity and consistency.
Within weeks, you’ll have bright new celery stalks growing from what would’ve been waste. It’s practical, rewarding, and a small step toward living more sustainably.

Leave a Reply