
Few things capture the magic of fall like a bright orange pumpkin sitting proudly on your porch. Whether you want to carve spooky faces for Halloween or bake homemade pies through winter, growing your own pumpkins is easier—and more rewarding—than you might think.
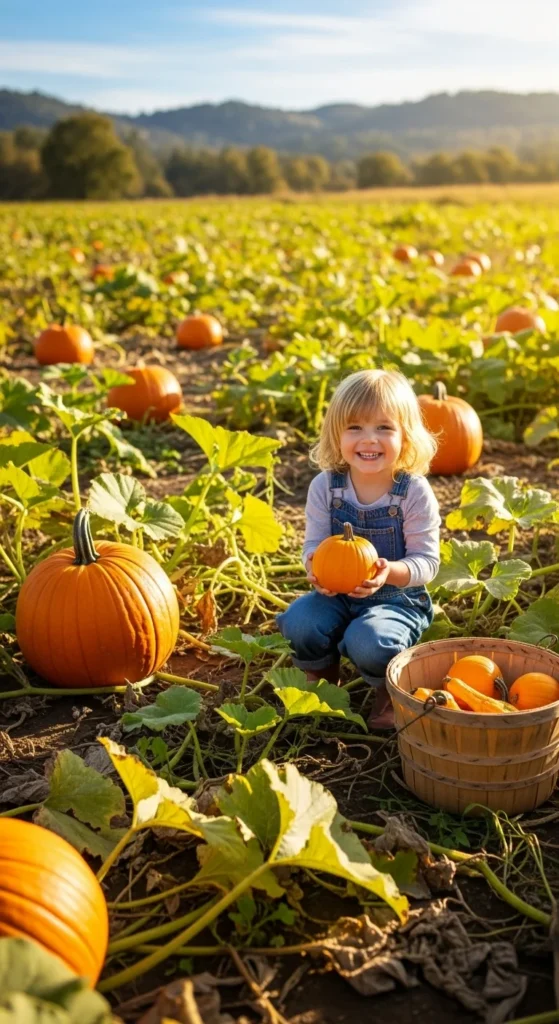
Pumpkins are hardy, fun to grow, and produce big, beautiful fruits that symbolize the changing season. With just a bit of planning and care, you can grow your own patch that shines all the way from autumn celebrations to cozy holiday desserts.
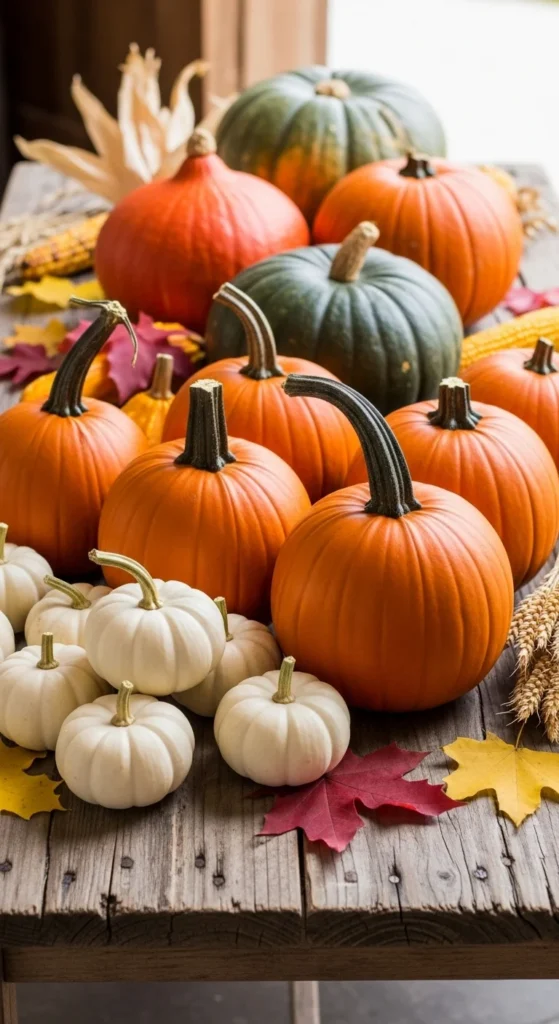
Step 1: Choose the Perfect Variety
Before you plant, decide how you want to use your pumpkins. Some are best for carving, others for cooking, and some are small enough for decorating tabletops or wreaths.
Popular Pumpkin Varieties:
- Jack O’Lantern: Classic size for carving.
- Cinderella: Flattened, French heirloom variety perfect for pies.
- Sugar Pie: Sweet and small—ideal for baking.
- Baby Boo or Munchkin: Tiny white or orange pumpkins for décor.
- Big Max or Atlantic Giant: Massive pumpkins that can weigh over 100 pounds!
If your goal is Halloween carving, stick with a mid-sized variety that matures in 90–100 days.
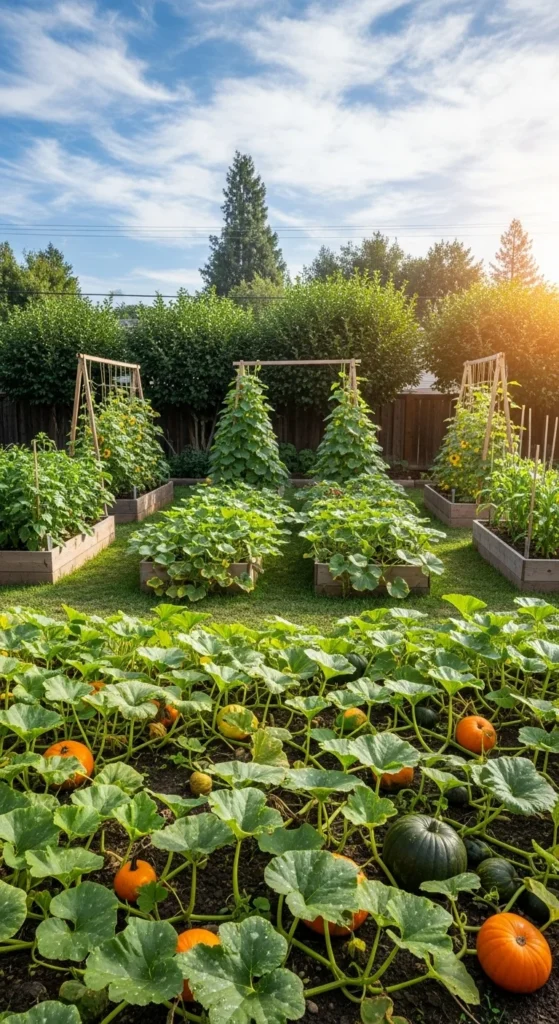
Step 2: Pick the Right Spot
Pumpkins love space, sun, and warmth. They need at least 6–8 hours of sunlight daily and plenty of room for vines to sprawl.
Location Tips:
- Choose a sunny area with rich, well-draining soil.
- Avoid spots where water collects—pumpkin roots don’t like soggy soil.
- If you’re short on space, consider vertical trellising for smaller varieties or plant them in large raised beds.
Pumpkin vines can stretch 10–20 feet long, so give them plenty of room to roam.
Step 3: Prepare and Plant
Pumpkins grow best in warm soil, so wait until after the last frost before planting. In most regions, this means late spring.
How to plant:
- Create mounds or hills about 3–4 feet apart. Mounds warm up faster and help with drainage.
- Mix in compost or aged manure for nutrients.
- Plant 4–5 seeds per mound, about 1 inch deep.
- Once seedlings sprout (in about 7–10 days), thin them to 2 of the strongest plants.
For an extra head start, you can start seeds indoors 2–3 weeks before your last frost date and transplant them once the soil warms.
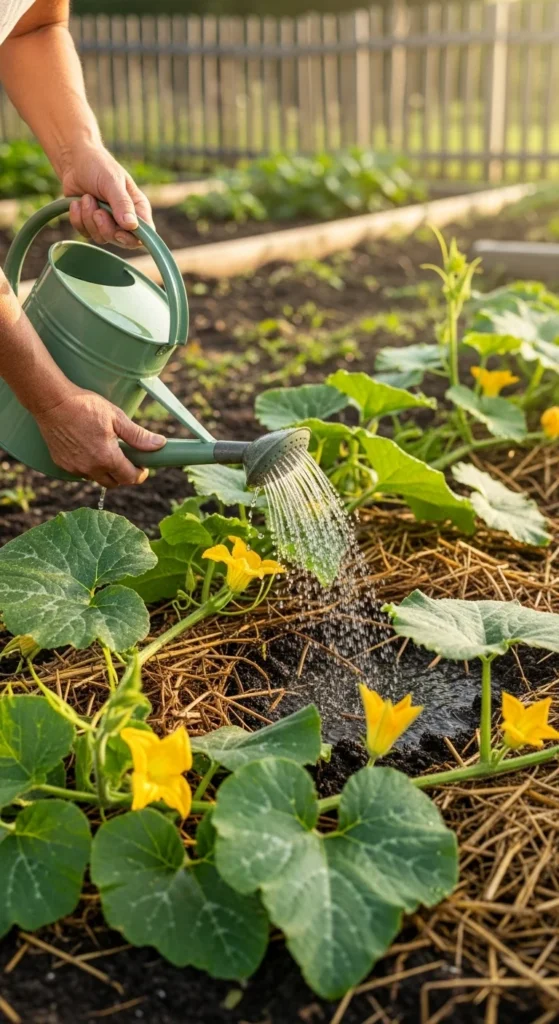
Step 4: Water and Feed Regularly
Pumpkins are thirsty plants with big appetites. To grow large, healthy fruits, they need consistent care.
Watering Tips:
- Water deeply 2–3 times a week—aim for about 1 inch of water each time.
- Avoid getting leaves wet; focus water at the base to prevent mildew.
- Use mulch to keep soil moist and reduce weeds.
Feeding Tips:
- Apply a balanced fertilizer (like 10-10-10) every few weeks early on.
- Once flowers appear, switch to a phosphorus-rich fertilizer to encourage fruiting.
Step 5: Pollination and Flowering
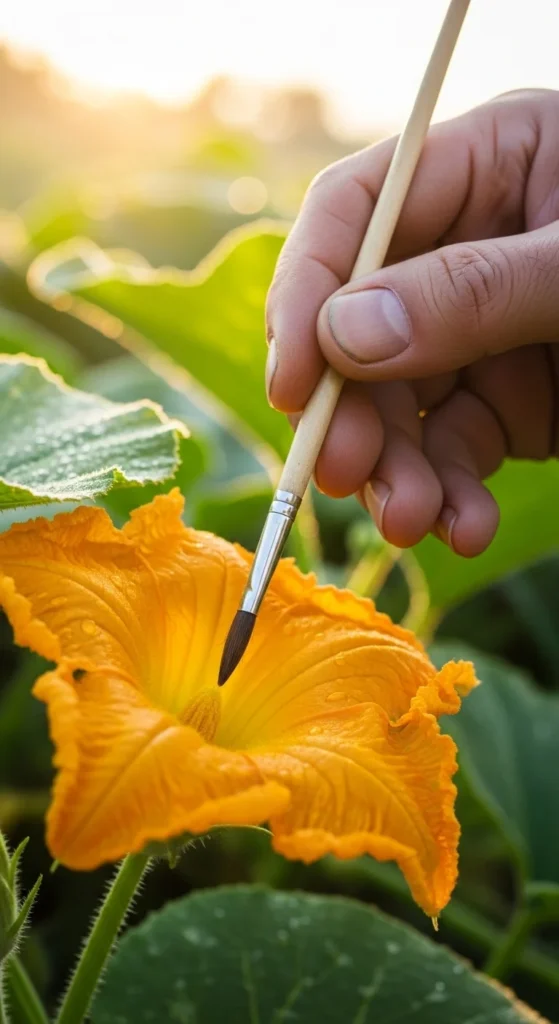
Pumpkins produce both male and female flowers—and bees are essential for moving pollen between them.
- Male flowers appear first and grow on long, thin stems.
- Female flowers have a small bulb at their base (the future pumpkin).
If you notice flowers but no pumpkins forming, your plants may not be getting enough pollination. You can hand-pollinate using a small brush or by gently rubbing a male flower’s center onto a female flower.
Step 6: Support and Protect Your Pumpkins
Once fruits start forming, it’s time to keep them safe and healthy until harvest.
Simple Care Steps:
- Place a board or straw under each pumpkin to prevent rot.
- Trim vines lightly if they grow too wild—just avoid cutting near fruits.
- Watch for pests like squash bugs or vine borers and remove them early.
- Keep an eye out for powdery mildew, especially in humid weather. Good airflow and consistent watering help prevent it.
If you’re growing giant pumpkins, limit each vine to one fruit and pinch off others. This allows the plant to focus all its energy on growing one massive pumpkin!
Step 7: Harvest and Enjoy
Pumpkins are ready when they’re fully colored and have a hard rind that resists scratching with a fingernail. The vines will start to wither and turn brown near the end of the season.
Harvesting Tips:
- Use sharp pruning shears to cut pumpkins, leaving a 2–4 inch stem.
- Handle gently—dropping them can cause bruising or rot.
- Cure them in a warm, dry place for 7–10 days before storage.
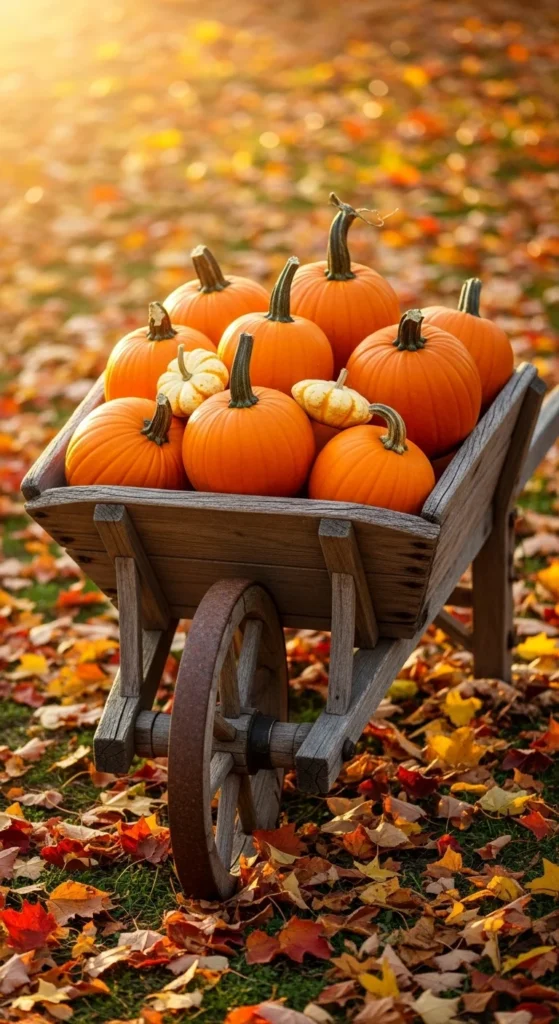
Once cured, pumpkins can last for 2–3 months in a cool, dry place—perfect for Halloween carving or baking delicious pies well into winter.
Final Takeaway
Growing pumpkins isn’t just about carving jack-o’-lanterns—it’s about creating memories from seed to harvest. With sunlight, space, and a little patience, you can grow pumpkins for every purpose: Halloween fun, holiday baking, and festive fall décor.

Leave a Reply