
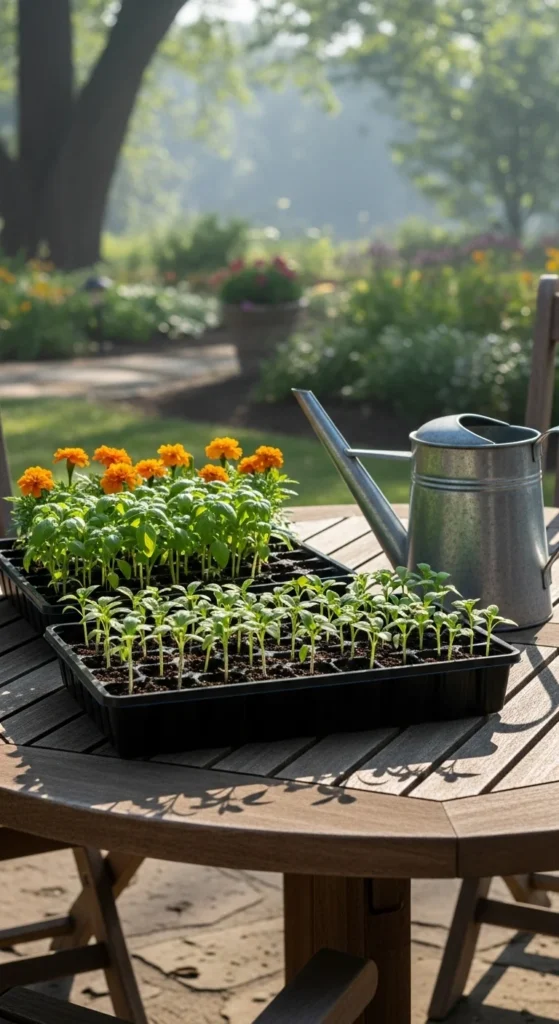
You’ve nurtured your seedlings from tiny sprouts, and now it’s time for their big move — into the garden or larger pots. But transplanting can be stressful for plants, and if done too quickly or roughly, it can cause transplant shock, leaving your seedlings wilted or stunted. The good news? With the right care and timing, you can make the transition smooth and successful.
Understand Transplant Shock
Before we dive into the how-to, it’s important to understand what causes transplant shock. When seedlings are moved, their delicate roots are disturbed and exposed to new soil, light, and temperature conditions. This sudden change can:
- Slow growth
- Cause yellowing leaves
- Make plants wilt or droop
The key to avoiding shock is gradual acclimation and gentle handling — think of it as helping your seedlings “settle in” instead of dropping them into a brand-new world overnight.
Step 1: Harden Off Before Transplanting
Hardening off is the secret to transplant success. It’s the process of gradually introducing your seedlings to outdoor conditions.
How to do it:
- Start 7–10 days before transplanting.
- Place seedlings outdoors for a few hours each day in a shaded, sheltered area.
- Gradually increase their exposure to sunlight and wind each day.
- Bring them indoors at night for the first few days, especially if it’s chilly.
By the end of the week, your seedlings should be strong enough to handle full sun and outdoor temperatures.
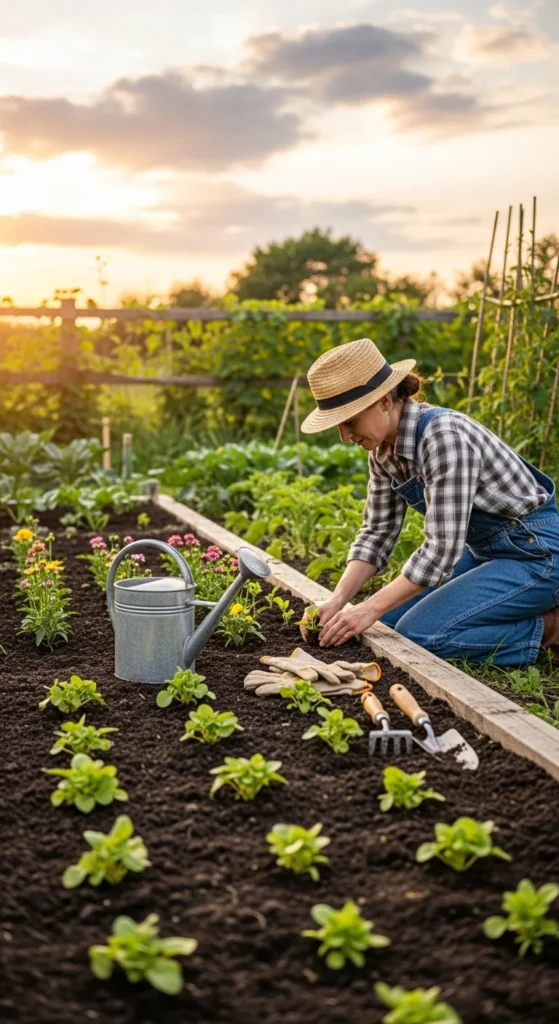
Step 2: Pick the Perfect Day and Time
Transplanting on the wrong day can undo all your hard work. Choose conditions that help your seedlings stay cool and hydrated.
- Best time: Early morning or late afternoon when the sun is softer.
- Best day: A cloudy or lightly overcast day — this reduces heat stress.
- Avoid: Hot, windy, or sunny days, as they dehydrate plants quickly.
If you’re transplanting in summer, consider using a temporary shade cloth for a few days afterward.
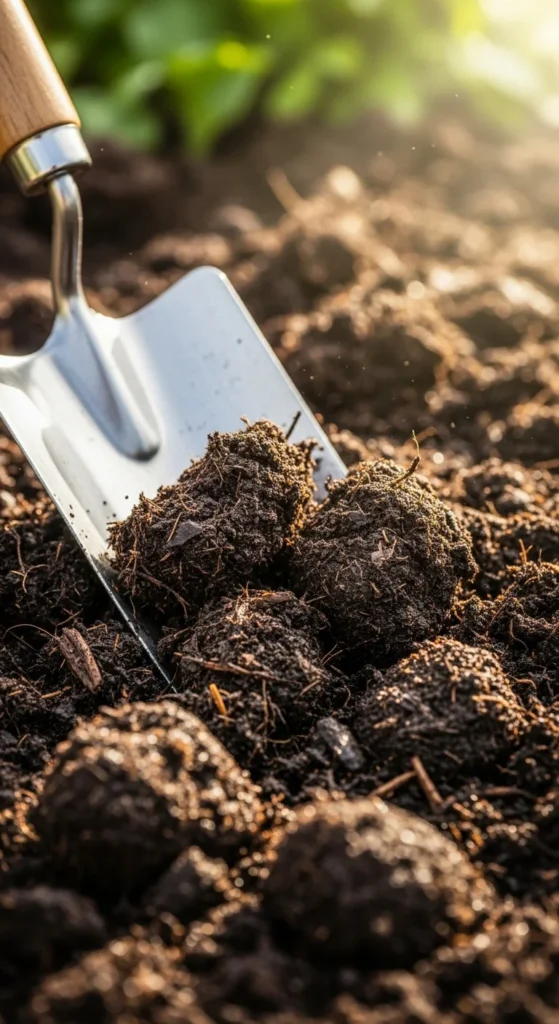
Step 3: Prepare the Soil
Healthy soil equals happy transplants.
Here’s what to do:
- Loosen the soil 8–10 inches deep so roots can spread easily.
- Mix in compost to give your seedlings a gentle nutrient boost.
- Water the soil a few hours before transplanting — it should be moist but not soggy.
If you’re transplanting into containers, use a high-quality potting mix with good drainage.
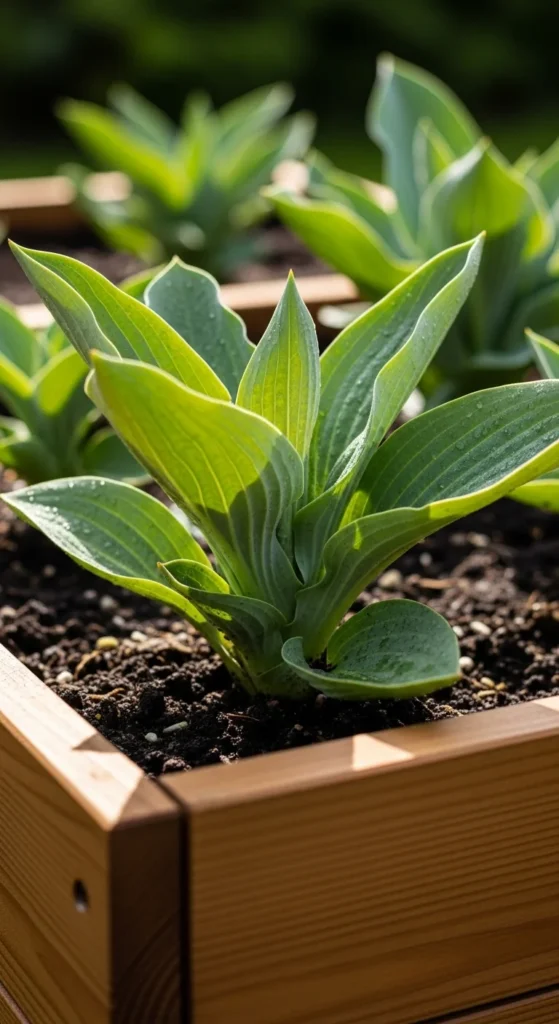
Step 4: Handle Seedlings with Care
Your seedlings are fragile — treat them like green gold.
- Water before removing: Hydrate seedlings a few hours before transplanting so the root ball stays together.
- Hold by the leaves, not the stem: The stem is their lifeline; damage it and the plant may die.
- Keep roots covered: Don’t let them sit in open air for long — even a few minutes can cause stress.
- Plant at the right depth: Match the soil line to where it was in the pot. Tomatoes are an exception — they can be buried deeper to encourage strong root growth.
Gently press the soil around the roots to remove air pockets, but don’t compact it too tightly.
Step 5: Water and Protect
Once your seedlings are in the ground, they need extra love for the first week.
- Water deeply right away: This helps settle the soil and reduce air gaps around roots.
- Maintain consistent moisture: Keep soil evenly moist (not soggy) for the first 7–10 days.
- Mulch lightly: A thin layer of straw or compost helps keep moisture in and prevents weeds.
- Provide shade if needed: If the sun gets intense, use garden fabric or cardboard to protect young transplants.
Avoid fertilizing immediately after transplanting — wait a week to give them time to adjust.
Step 6: Watch for Signs of Stress
Even with care, seedlings can show signs of mild stress — droopy leaves or pale color. Don’t panic!
- Check soil moisture: Most transplant issues come from either too much or too little water.
- Avoid disturbing roots again: Let them re-establish naturally.
- Wait and observe: Within a few days, you’ll usually see new growth and stronger color returning.
If seedlings continue struggling after a week, add a diluted seaweed or compost tea solution to encourage root recovery.
Final Takeaway
Transplanting seedlings is a delicate art — a mix of timing, patience, and gentle care. By hardening off properly, watering wisely, and giving them the right start, you’ll ensure your plants grow stronger and healthier than ever.

Leave a Reply