
If you’ve ever looked at your pile of kitchen scraps and thought, “There has to be a better way to reuse this,” you’re absolutely right. Building your own compost bin is one of the easiest, most rewarding weekend projects for any gardener. It’s cheap, eco-friendly, and you can finish it in just one day — no carpentry degree required!
Why Composting Is Worth It
Composting turns everyday waste into “black gold” — a nutrient-rich soil booster that helps your plants thrive naturally. It cuts down on landfill waste, improves garden soil texture, and saves you money on store-bought fertilizers.
The best part? You don’t need fancy equipment or a large backyard. A few recycled materials and basic tools are enough to create your first compost system that works year-round.
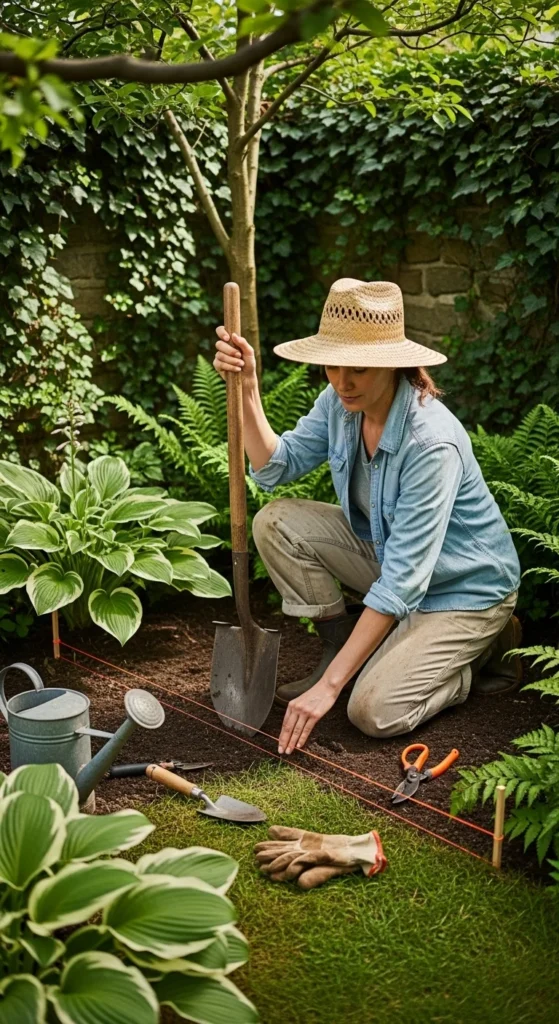
Step 1: Choose the Right Spot
Where you place your compost bin matters more than you might think.
- Go for partial shade: Too much sun dries it out; too little slows decomposition.
- Easy access: Keep it near your garden or kitchen door so adding scraps is convenient.
- Flat, well-drained ground: Compost needs moisture but not puddles.
Avoid spots right against fences or wooden walls, as moisture can cause rot over time.
Step 2: Gather Your Materials
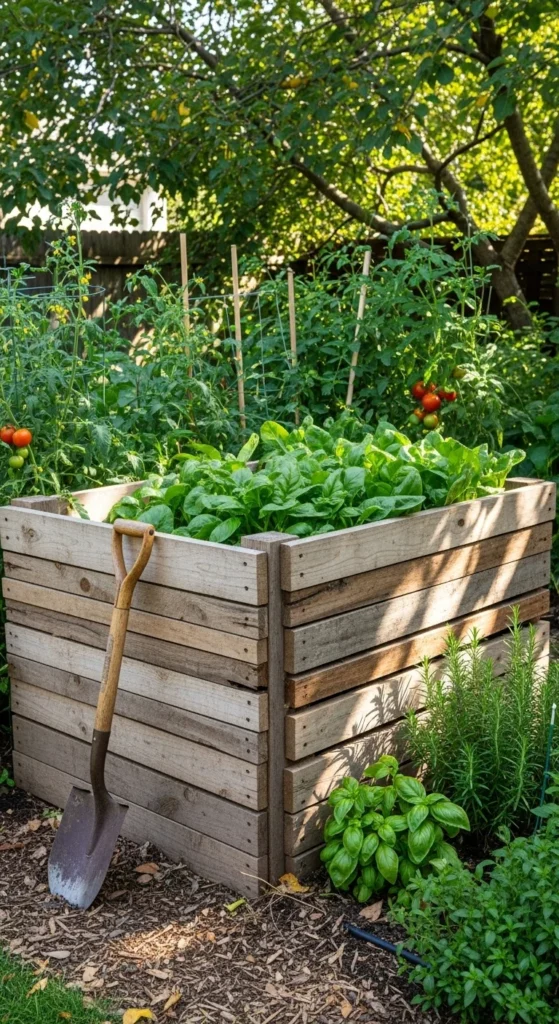
You can build a compost bin out of almost anything — wood, wire mesh, or even recycled pallets. For a quick, sturdy bin, here’s what you’ll need:
Materials:
- 3 or 4 wooden pallets (available free from hardware stores or warehouses)
- Zip ties or metal brackets
- Drill and screws
- Optional: hinges and a latch (for an easy-access door)
Tools:
- Power drill
- Hammer
- Tape measure
- Work gloves
The pallet design is perfect for airflow and simplicity — no cutting boards or complex assembly required.

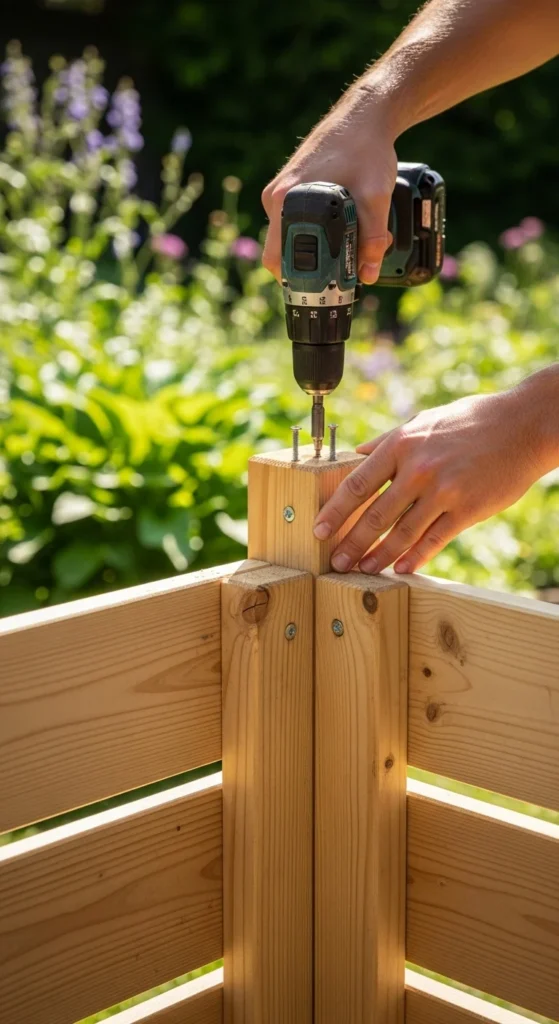
Step 3: Assemble the Frame
Now comes the fun part — putting it together!
- Stand three pallets upright to form a U-shape.
- Secure the corners with zip ties, metal brackets, or screws.
- For extra stability, add a fourth pallet as a hinged front gate or removable panel.
- Make sure there’s enough air space between slats for airflow — that’s key to healthy compost.
If you’re feeling creative, paint or seal the wood to match your garden aesthetic.
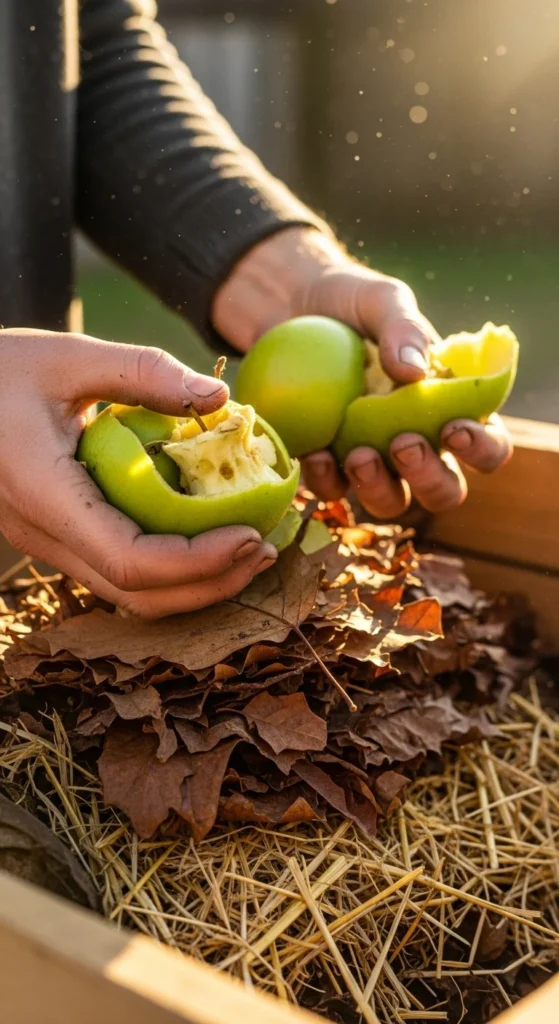
Step 4: Start Layering Your Compost
With the bin ready, it’s time to feed it! Composting is all about balance — mixing “green” and “brown” materials to fuel decomposition.
Greens (Nitrogen-rich):
- Fruit and veggie scraps
- Coffee grounds
- Grass clippings
Browns (Carbon-rich):
- Dried leaves
- Straw
- Shredded paper or cardboard
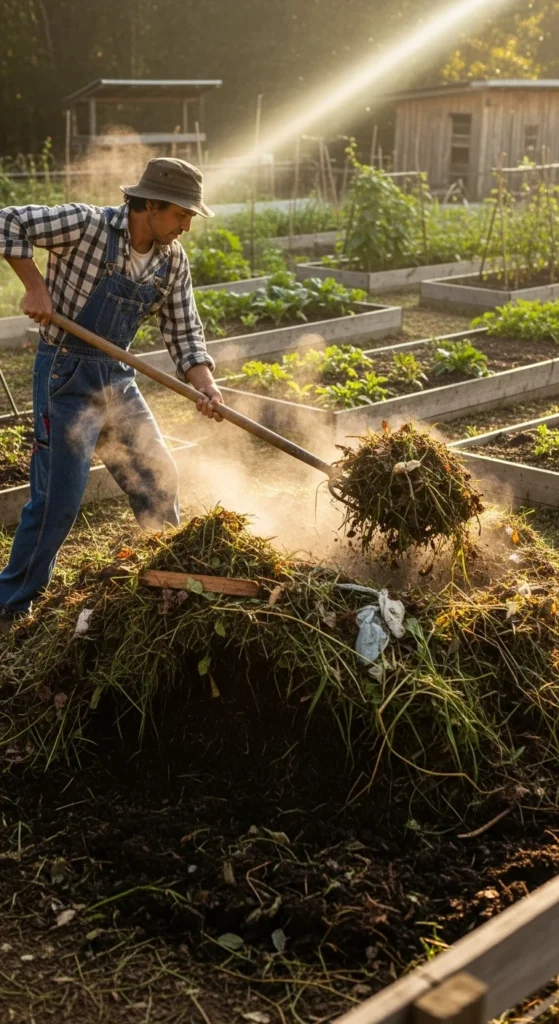
Layer like a lasagna: Start with browns at the bottom for airflow, then add greens, and continue alternating. Every few weeks, mix it all up with a pitchfork to speed up the breakdown.
Step 5: Maintain Your Compost
You’re almost done! Compost bins don’t require much maintenance — just the right rhythm.
- Turn the pile every 2–3 weeks to add oxygen.
- Check moisture: It should feel like a wrung-out sponge — not soggy, not dry.
- Add water if it’s too dry, or more browns if it’s too wet.
- Watch the magic happen: In 2–3 months, you’ll notice dark, crumbly compost forming.
A healthy compost pile smells earthy — never foul. If it does, it just means you need to add more dry material and stir it up.
Bonus Tip: Keep Pests Away
If critters like raccoons or rats become curious, secure the lid with a latch or add a fine mesh over any large openings. Avoid composting meat, dairy, or oily food scraps — those attract unwanted visitors.
You can even line the base of your bin with wire mesh for extra protection without blocking air circulation.
The Reward — Beautiful “Black Gold”
After a few months of patience and turning, your compost will look rich and smell earthy — ready to spread over your garden beds. This homemade compost adds nutrients, improves soil drainage, and helps plants grow stronger naturally.
And the best part? You built it yourself — in just one day!
Final Takeaway: Building a compost bin doesn’t have to be complicated. With a few pallets and a free afternoon, you can create a sustainable system that keeps waste out of landfills and gives back to your garden.

Leave a Reply