
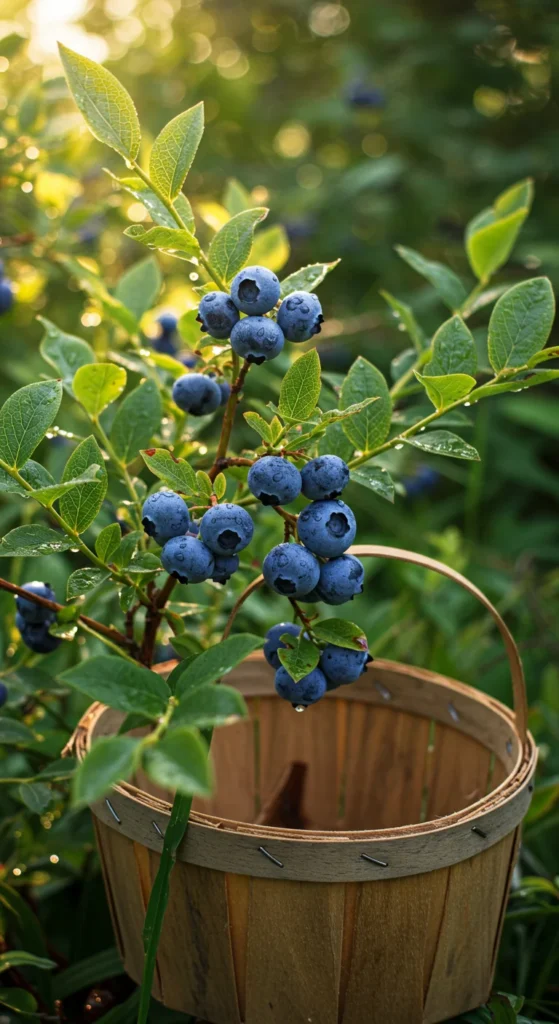
If you’ve ever tasted a handful of sun-warmed blueberries straight from the bush, you know there’s nothing quite like it. The good news? You don’t need a farm or fancy greenhouse to grow them — just a little patience, the right soil, and some TLC. Whether you’re planting in a backyard bed or a small patio pot, this guide will walk you through everything you need to grow delicious, homegrown blueberries.
Step 1: Choose the Right Blueberry Variety
Different blueberry types thrive in different climates. The three main kinds are:
- Highbush Blueberries: Best for temperate climates (e.g., Northern U.S., Europe).
- Rabbiteye Blueberries: Great for warmer regions with mild winters.
- Lowbush Blueberries: Perfect for cooler zones or ground cover gardens.
If you live in a hot area, go for Southern Highbush varieties — they handle heat better and still produce abundant fruit.
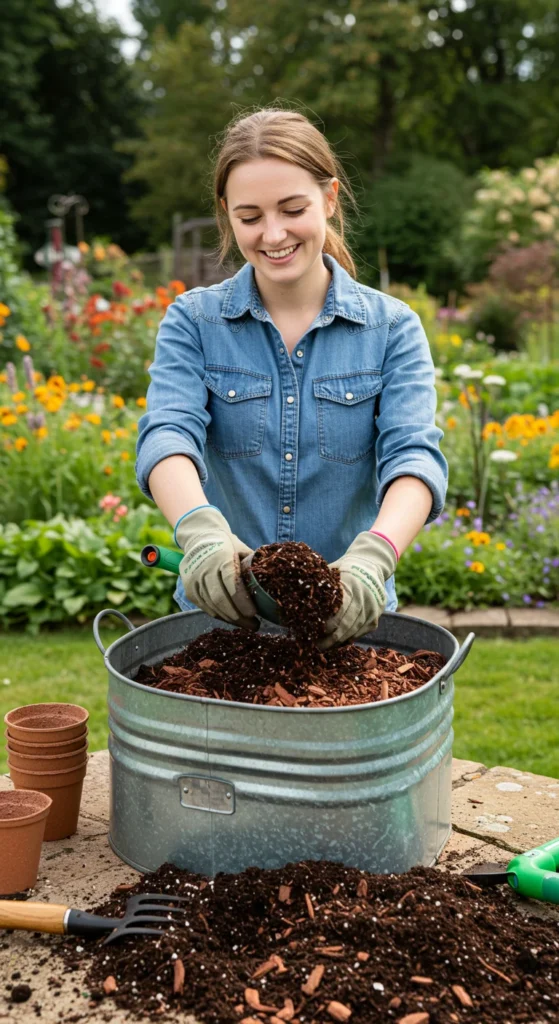
Step 2: Prepare the Perfect Soil
Blueberries love acidic soil with a pH between 4.5 and 5.5. Regular garden soil is often too alkaline, so here’s how to fix that:
- Mix peat moss, pine bark, and perlite into your soil.
- Test pH with a simple soil testing kit (available at garden stores).
- Add sulfur or acidic compost to lower pH if needed.
- Ensure the soil drains well — blueberries hate “wet feet.”
💡 Pro tip: Raised beds or large containers are ideal if your native soil isn’t acidic enough.
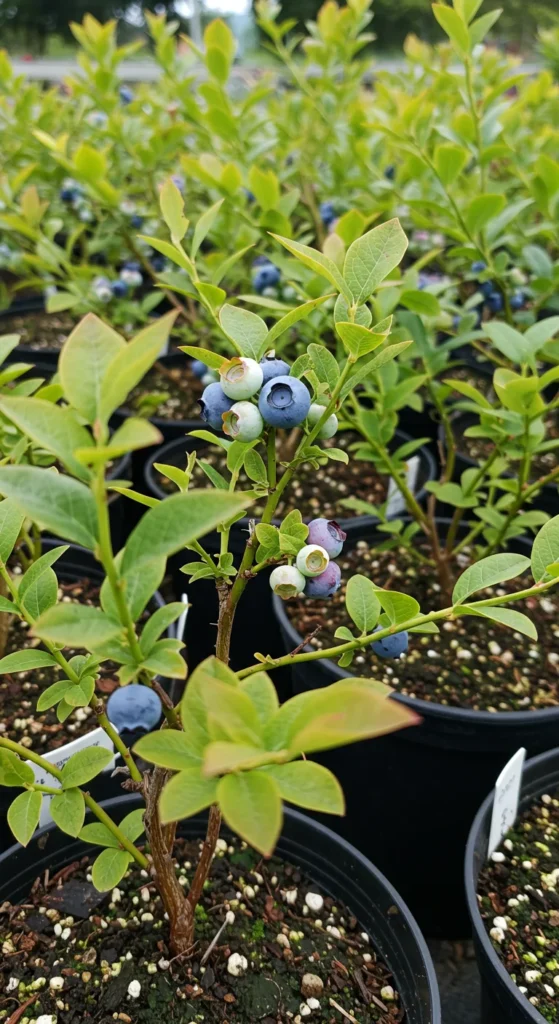
Step 3: Plant with Care
Plant your blueberry bushes in early spring when the ground is workable. Here’s how:
- Dig a hole twice as wide and just as deep as the root ball.
- Gently loosen the roots before planting.
- Backfill with your acidic soil mix and press down lightly.
- Space bushes about 4–5 feet apart (or 2 feet for a hedge).
Water thoroughly after planting — blueberries need consistent moisture, especially during their first year.

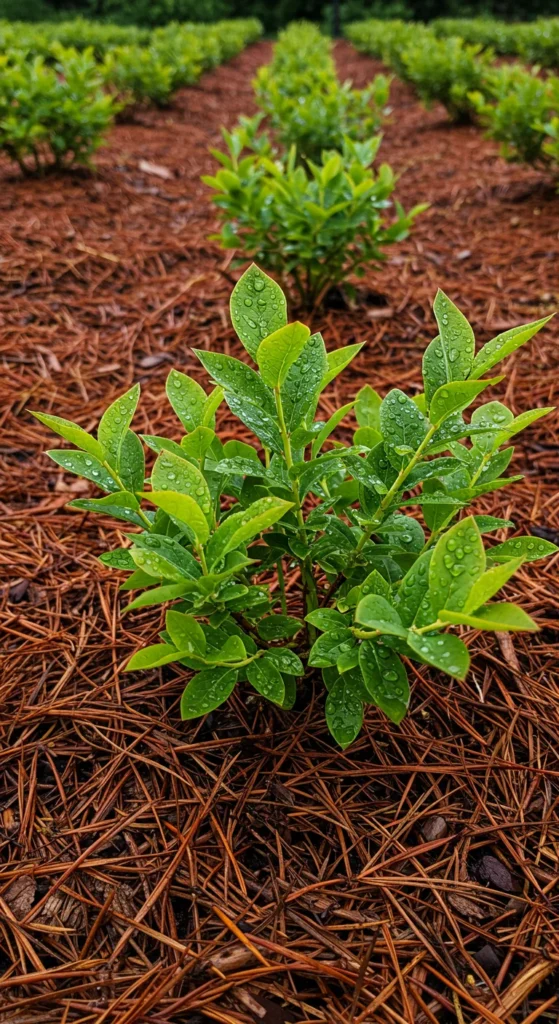
Step 4: Water and Mulch Regularly
Blueberries have shallow roots that dry out fast. To keep them healthy:
- Water 1–2 inches per week, more during dry spells.
- Use rainwater if possible (tap water can raise soil pH).
- Apply 2–3 inches of mulch — pine needles or wood chips are perfect.
Mulch helps lock in moisture and keeps weeds away while maintaining the soil’s acidity.
Step 5: Feed and Prune Smartly
Blueberries aren’t heavy feeders but still need nutrients to thrive.
Here’s the schedule to follow:
- Spring: Apply a slow-release, acid-loving fertilizer (like one for azaleas).
- Mid-summer: Add compost tea or an organic mix to boost fruiting.
Pruning is key for long-term productivity:
- Remove dead or weak branches each winter.
- Keep 6–8 strong canes per bush for better air circulation.
This keeps plants healthy and encourages new growth every year.
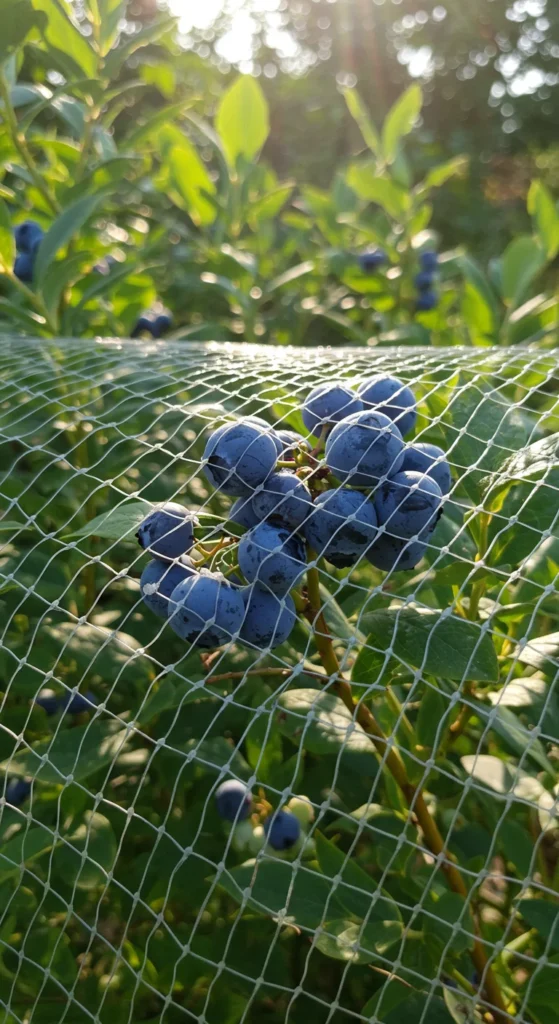
Step 6: Protect Your Harvest
Once your berries start turning blue, birds will notice — fast.
To protect your crop:
- Cover bushes with bird netting during fruiting season.
- Install simple garden hoops to keep the net lifted off branches.
- Pick berries when they’re fully blue and detach easily from the stem.
Step 7: Enjoy the Harvest and Care Year-Round
Harvest time usually arrives in mid to late summer. Pick every few days for the freshest fruit. After harvest:
- Water occasionally in fall to support root health.
- Add fresh mulch before winter.
- In colder climates, wrap containers or add straw around roots for insulation.
Blueberries can live for 20 years or more, rewarding your care with fruit every summer.
Final Takeaway
Growing blueberries at home is both rewarding and easier than most people think. Once your bushes are established, they’ll provide juicy, antioxidant-rich fruit year after year — straight from your own garden.
Save this guide for your gardening board and start planning your blueberry patch today — your future self (and breakfast smoothies) will thank you! 💙

Leave a Reply